We started the mannequin project using mainly soft wood because we had a bunch of construction lumber around the shop. Ideally this would be all hardwood but then I would really want to plan it more because of the expense of and additional effort using hardwood. Sometimes its nice to have the freedom to not worry too much about the material cost and just try some things out to see where they lead. There was no way I wanted to do a 3D electronic model and build the mannequin to a rigid plan just to make sure we used some expensive wood efficiently. Part of what we were trying to capture is the simplicity and rough hewn look of the mannequin in the inspirational picture. For that you have to move fast and a little loose. Fine for the artist types but the engineering side of my brain always screams "wait a minute" when a project gets kicked into creative afterburner.

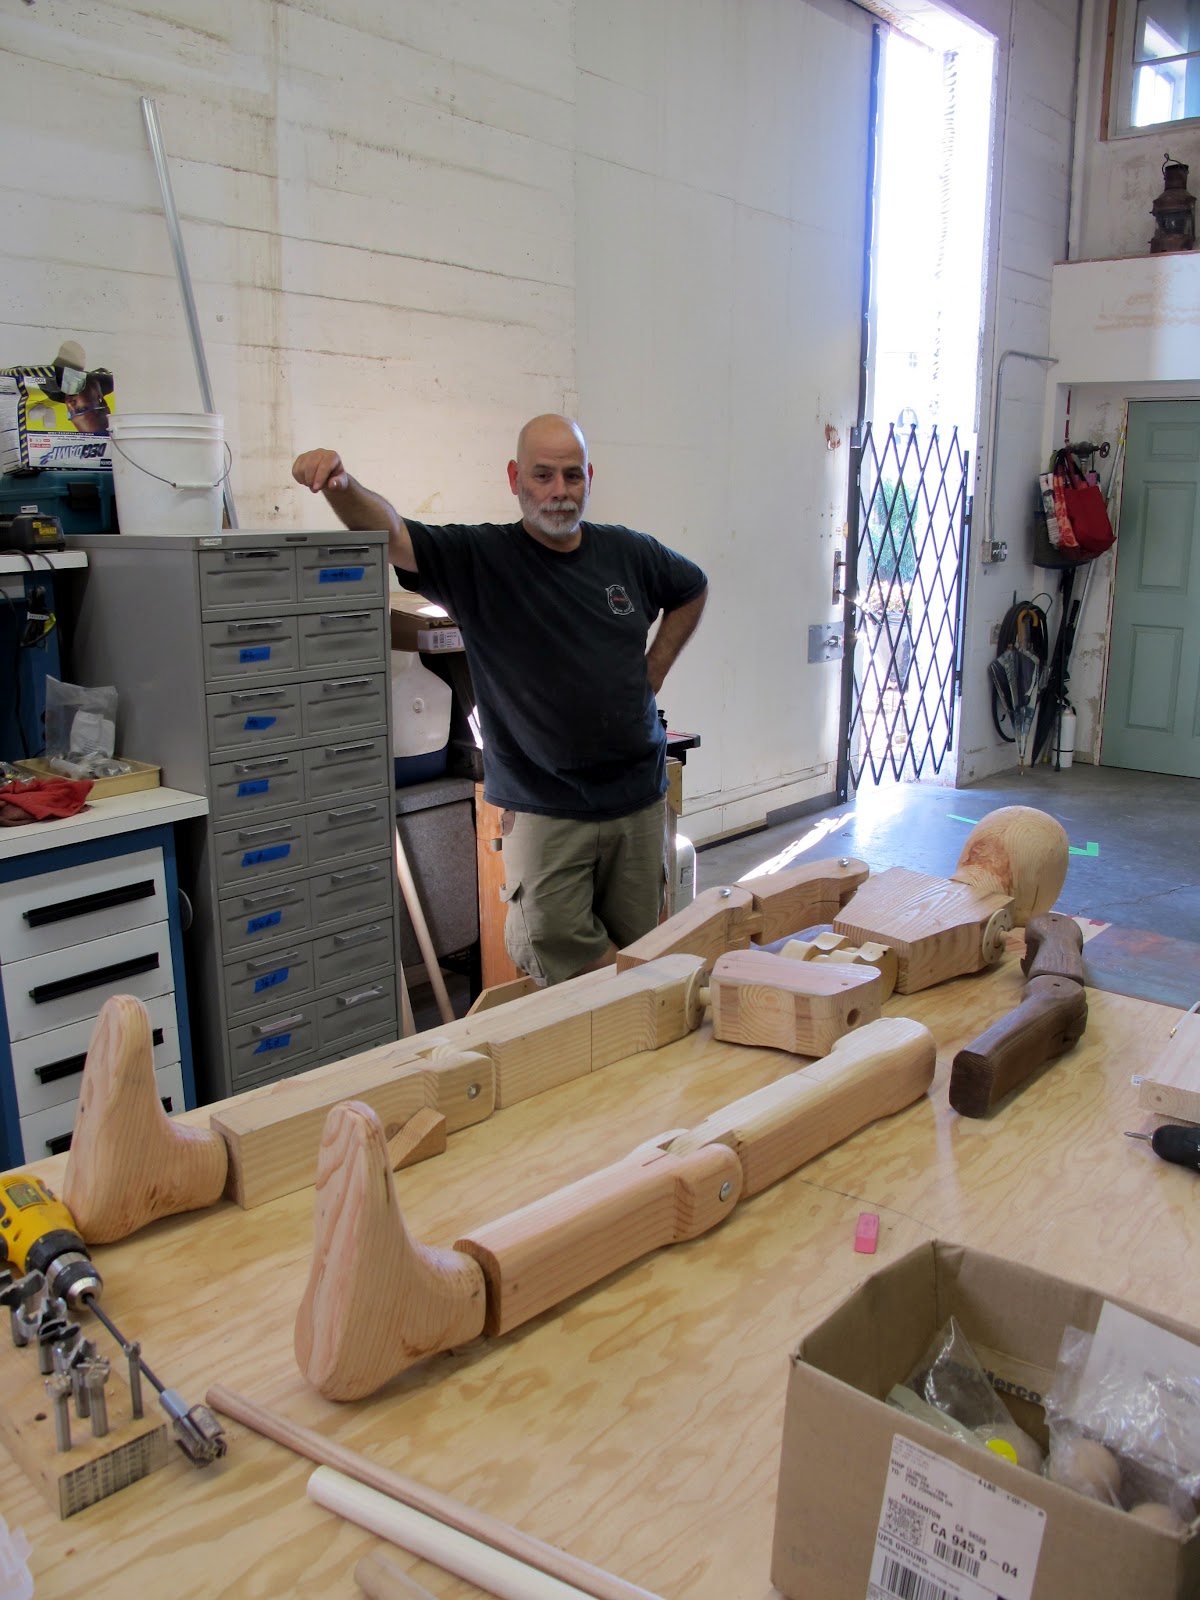
In this picture we have quite a few pieces roughed out and the mannequin form is taking shape. The torso in this picture was an early two piece version that we ended up junking because it just wasn't working. If we had made that in hardwood or metal we might have been much more reluctant to abandon it just because it looked a little off. In cheap construction softwood the decision was easy to toss it in the dustbin and make another..
She (Mary) has the new and improved torso Mark II in this picture. You can also see the lower spine double joint which connects the pelvis to the torso. This joint proved to be necessary to get the right amount of flexibility and articulation between the pelvis and torso. The tip angle of the pelvis proved important to posing the mannequin properly. An early softwood rigid finger hand prototype shows up here also.
The feet were also a critical item for us. At first cut we just band sawed them out as monolithic feet from 4 x 12 header lumber without any toes or any articulation other than the ankle. My wife spent a bunch of dusty hours sculpting the feet with a four inch sander with a 40 grit flap disc on it to get the right look.
Here is shot of the feet taking shape. Just looking at the picture you can see the difference in "presence" from the sanding and sculpting work. Holding some of these parts got a little challenging vises weren't designed to hold your foot in them.
It makes my ankle hurt just looking at this picture. I'm drilling the hole for the ball joint that becomes the ankle of the mannequin. I used hardwood balls clamped in place with retainer plates to allow the ankle articulation. The hole is just a flat bottomed hole made with a Forstener bit. These drill nice clean holes, accurate and without chipping the wood out.
This ball joint design was used all over the mannequin. I just changed the basic size depending on what part of body they ended up on. The balls are hardwood (maple or ash) and are readily available at a hobby shop like Michael's. These particular balls came from the woodworking supply store
Rockler. I held the balls in the vise of the mill by sandwiching them between two blocks of wood that had a hole slightly smaller than the ball. Its important to drill the stem hole on center reasonably well. I glued the hardwood dowel stem into the balls with Titebond wood glue.


The next big challenge was the head which you get a sneak preview of in the picture above. Arguably the most important part of this project or at least as important as your head is to you. In this last shot the front part of the foot has been mobilized a bit. The lower leg didn't look right until the front part of the foot could move a little so the toes can sit flatter on the floor. You can also see the ankle ball joints here with their thin plywood clamp rings. Work of caution, pre-drill all your screw holes when you have a lot of work invested in a part. These were close enough to the edge to make me real nervous after the grinding work my wife put into these feet. If I bozoed the simple screwing job I would have felt pretty bad.
Stay tuned for part three.


I'm wanting to buy only life sized moveable legs with movable ankles, feet and toes - do you have a place that I can buy online? my email is: snookers3000@gmail.com and my home phone is (519)377-8745
ReplyDeleteThank you
Hi Morgan,
DeleteMy wife and I made this for fun. We don't sell them or manufacture manikins.
Regards,
Tom
How were you able to adjust the tension in the ball joints?
ReplyDeleteHey Chris,
DeleteI bored the holes pretty closely to depth. I did a couple test pieces to get it the way I wanted. Its better if their tight because its easy to loosen them. The balls vary a bit as well. The screws are pretty long so you can tune the joint a little with the screw tension. Hope that helps.
Cheers,
Tom
balenciaga sneakers
ReplyDeleteretro jordans
jordans
yeezy boost 350 v2
jordan shoes
coach outlet
jordan shoes
supreme hoodie
nike cortez men
yeezy shoes
supreme
ReplyDeletejordan shoes
golden goose sneakers
moncler outlet
nike react
kevin durant
jordan shoes
kevin durant shoes
paul george
supreme hoodie
replica bags joy replica bags joy replica bags in gaffar market
ReplyDeleteread the full info here z3z24y5z22 replica designer backpacks replica kipling bags replica bags nyc Website r1b19k3w98 7a replica bags meaning replica bags qatar replica hermes handbags n7h34i7k50 replica bags lv
ReplyDelete