A year or so ago I was frustrated with the ground clamp on the TIG welding machine in our support shop at work. One of the problems was the new welding table we were using. We had moved the entire welding operation from the basement lab area and plunked it down in the middle of the machine shop. Part of the reason was to do the final vacuum seal weld for the
induction cells for our project at work NDCX2. Having the welding machine upstairs turned out to be the best thing we could have done. The machine we used to do the magnet alignment was nearby and we could quickly button up the cells after measurement make room for more instead of doing the welding in batches. An added benefit was the adjacent machine shop always seems to need a weld here and there. In the machine shop we set up the new welding area around an old Taft Pierce cast iron surface plate. This is the beginning of my frustration with the ground clamp.
The Taft Pierce plate is heavily ribbed and has a thick rim that doesn't lend itself to a normal welding ground clamp opening. To solve this problem I attached a c-clamp type ground clamp to a large boss on the table and then attached the spring clamp to that. You might ask why I didn't just use the c-clamp ground clamp for everything?
The reason not to use this type for everything is one they are big, bulky and a pain to
use and move from one spot to another quickly and there were enough
other jobs that the clamp type was just unsuitable. Can you tell I don't like this type? To finish off my
frustration with the large spring type clamp I had something happen that
in almost forty years of welding has never happened before.
I was welding one of the induction cells closed one day and had a spring type ground clamp like the one above clamped to one of the bolts that was protruding through the flange I was welding on.
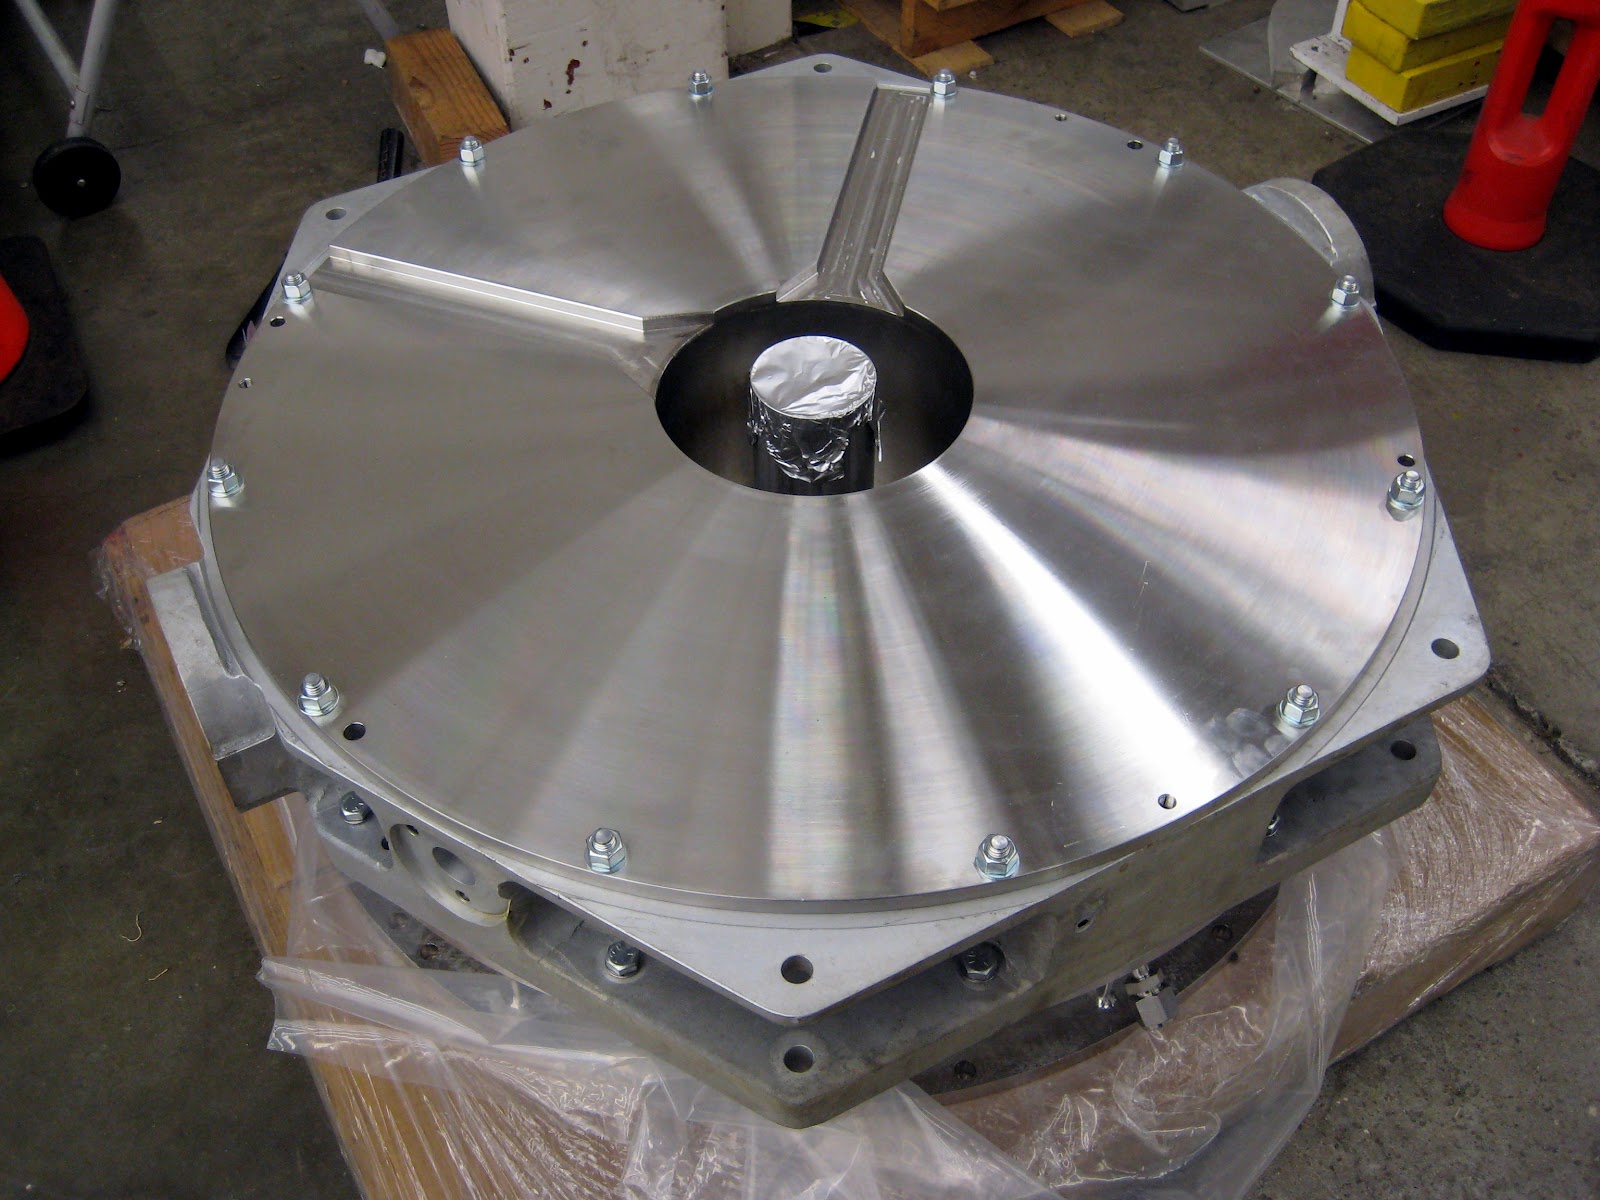
The welding is performed with the cell horizontal as its shown in the picture above. These cells are roughly thirty four inches in diameter so you have to lean on the flange surface during the welding. Part way through this particular weld I heard the sound of the ground clamp coming off the bolt. I guess I had leaned on it enough to twist it off the bolt it was clipped to. Well when it came off it caught me under the arm and clamped onto the soft underbelly meat of my triceps. My arm was in the wrong place at the right time. If you have used these type of ground clamps then you know they have a pretty studly spring in them. It didn't hurt as much as you might imagine but it was significant.
The lower meat of the upper arm is kind of tender in particular the older you get. I took it off and didn't think much about it. My wife spotted the purple and yellow bruise it left the next day so I had some esplaininnin to do."Honest honey its just a welding hickey" Sounds lame right? To make matters worse she is a welder also and has never had anything so ridiculous happen to her. It would have been easier to explain third degree burns over half my body or a missing limb instead of a suspicious underarm hickey.
Up to this is just the background of what I really wanted to talk about in this article which is experiments with alternate welding ground clamps. Part of the problem I perceived from my experience was that generally any particular welding machine has just one ground clamp even though it operates in a huge range of current levels and huge variety of jobs. The machine the arm pinching clamp was on is an older
Miller Syncrowave 350 and can run from 1 ampere (with the low current option) all the way up to 400 amps. In welding that's a pretty wide operation range.
When you get a new welding machine most folks look at the highest amperage the machine can produce and size the ground clamp to accommodate that highest current even when they know the machine will see that only a few times in its life for the average machine. I Asked myself the dumb question why don't we just have some quick change ground that we match to the job? What could I try on the cheap? If I went to a quick change setup I would need a quick disconnect to mount to the machine and a handful of the opposite side for the different clamps I envisioned. That would have taken too long and cost a couple hundred bucks just for an experiment. So I started poking around the bins in the old electrical cabinet. On the TIG machine I have at home the original owner really took the top end current ability to heart when they sized the ground. Its ground cable is something like 4/0 cable. It weighs a ton and to add insult they skimped on the length. Probably because the huge cable is so expensive per foot. On the same note a huge ground makes no sense when on the other end a lightweight 200 amp TIG torch is mounted.

My first cut was to make a sub ground cable. The idea was I could try it out quickly and learn something and see it the idea had any merit. I started with a scrounged copper alligator clip. I was surprised right away that a pretty modest copper alligator clip can carry a pretty respectable current. I selected the alligator clip based mainly on how large its jaws could open. This pretty modest clamp can handle a hundred amperes and costs less than ten bucks new. This idea was starting to look pretty promising.
Here is a shot of the completed sub ground. The idea is you clamp the humungous anaconda ground to the copper plate and then use the more delicate alligator clip on the more lightweight workpieces. It came in handy when I was joining a bunch of thin curved sheet metal parts that had to have the edges aligned precisely. The smaller and lighter clip didn't influence the alignment by dragging the parts toward the center of the earth.
In this picture you can see the sub ground in action. Some part configurations can be damaged from current flow back to ground because they may not sit on a grounded table well or only bear on some small points that are easily eroded under welding current. Clamping the ground directly to the part eliminates this kind of ground arcing damage.
You can see the scale in this picture. This particular alligator clip is rated for 75 amps. I liked the jaws on this one because they close together instead of with an offset like the 100 amp clip I used for the sub ground pictured above.
So the experiments continue. So far I really like the small lightweight cable and clamp. I connected them directly to a ground pad on the machine so I could have the option to switch to a heavyweight clamp if I needed without taking the machine apart each time.
The copper plate is sandwiched between the heavy cable and the machine lug. I figure I will just double up the grounds if I have any high current welding to do or just slip the end of the lightweight ground into and insulating tube to prevent accidental high current flowing through the small ground clamp.
Try it. I think you will like it as much as I do and its an easy afternoon project.


I've tried and like it! You're right; for me it's a lot easier to use too. Perhaps the bigger type is just not right with my physique and they are for more arduous welding task. The lightweight fits me more than the heavyweight clamp. Thanks for the welding tip!
ReplyDeleteJeanette West
Hi Jeanette,
ReplyDeleteThanks for the comment. I haven't had to use my large ground cable since I wrote this article. Glad you like your new clamp.
Tom Lipton
louis vuitton outlet
ReplyDeletejordan shoes
nike outlet
ed hardy clothing
kate spade handbags
air jordan pas cher
vans shoes outlet
mont blanc
louis vuitton outlet
coach factory outlet
michael kors outlet
hollister clothing
louis vuitton handbags
kevin durant shoes 8
true religion outlet
ghd flat iron
air jordan retro
adidas originals shoes
ralph lauren polo outlet
timberland boots
`
rolex watches
louis vuitton
nike air max
jordan 3
michael kors outlet
air max 90
nike air max 90
louis vuitton outlet
air jordans
louis vuitton handbags
louis vuitton outlet
christian louboutin shoes
toms shoes
longchamp handbags
cheap jordans
louis vuitton outlet
michael kors outlet online
ray-ban sunglasses
asics running shoes
20166.29wengdongdong
Nice and great blog...
ReplyDeletewelding hoodie
have a peek at this website Home Page Check Out Your URL next page Click Here look at this site
ReplyDeletecheck these guys out dolabuy.su view website best replica designer bags Web Site her explanation
ReplyDeletef4p26x4z35 z9u49w2l45 o4p31s6v50 n7q96p0l16 i9x93c0e85 h9w32b1z67
ReplyDeletePrecision are essential for achieving high-quality welds and ensuring safety in welding operations. They provide a stable electrical connection between the welding machine and the workpiece, enhancing conductivity and reducing the risk of defects. Made from durable materials like copper and brass, these clamps offer excellent grip, adjustability, and ergonomic designs, making them suitable for various welding applications, including MIG, TIG, and stick welding. When selecting a ground clamp, consider factors like current capacity, material compatibility, durability, and ease of use to ensure optimal performance and safety.
ReplyDelete